The first thing that comes to mind while considering a task scheduler is a cron job. As most of the today’s servers are hosted on linux machines, setting a cron job for periodic task might seem like a good option for many. However in production having a crontab is nothing but a pain in the a**. It can be a bit tricky to configure different timezones depending upon the location of the server.
The biggest problem with this approach is when the application is scaled into multiple web servers. In that case instead of running one we could be running multiple cron jobs which might lead to race conditions. Also it’s hard to debug if something goes wrong with the task.
With Flask there are multiple ways to address third problem and Celery is one of the most popular ones. Celery addresses the above problems quite gracefully. It uses same timezones of pytz which helps in calculating timezones and setting the scheduler timings accurately.
Celery uses a backend message broker (redis or RabbitMQ) to save the state of the schedule which acts as a centralized database server for multiple celery workers running on different web servers.The message broker ensures that the task is run only once as per the schedule, hence eliminating the race condition.
Monitoring real time events is also supported by Celery. It includes a beautiful built-in terminal interface that shows all the current events.A nice standalone project Flower provides a web based tool to administer Celery workers and tasks.It also supports asynchronous task execution which comes in handy for long running tasks.
Let’s go hacking
Here we will be using a dockerized environment. Now the installation of redis and celery can be different from system to system and docker environments are pretty common now a days to do such kind of exercises without worrying so much about local dev infrastructure.
flask-celery
│
│  app.py
│  docker-compose.yml
│  Dockerfile
│  entrypoint.sh
│  requirements.txt
│
└────────────────────────
Let’s start with the Dockerfile
FROM python:3.7

# Create a directory named flask
RUN mkdir flask

# Copy everything to flask folder
COPY . /flask/

# Make flask as working directory
WORKDIR /flask

# Install the Python libraries
RUN pip3 install --no-cache-dir -r requirements.txt

EXPOSE 5000

# Run the entrypoint script
CMD ["bash", "entrypoint.sh"]
The packages required for this application are mentioned in the requirement.txt file.
Flask==1.0.2
celery==4.3.0
redis==3.3.11
The entry point script goes here.
#!/bin/sh

flask run --host=0.0.0.0 --port 5000
Celery uses a message broker to pass messages between the web app and celery workers. Here we will setup a Redis container which will be used as the message broker.
version: "3.7"

services:

  redis:
    container_name: redis_dev_container
    image: redis
    ports:
      - "6379:6379"

  flask_service:
    container_name: flask_dev_container
    restart: always
    image: flask
    build:
      context: ./
      dockerfile: Dockerfile
    depends_on:
        - redis
    ports:
      - "5000:5000"
    volumes:
      - ./:/flask
    environment:
        - FLASK_DEBUG=1
Now we are all set to start our little experiment. We have a redis
container running on port 6379 and a flask container running on
localhost:5000. Let’s add a simple api to test whether our tiny web
application works.
from flask import Flask

app = Flask(__name__)

@app.route("/")
def index_view():
    return "Flask-celery task scheduler!"

if __name__ == "__main__":
    app.run()
And voila!

Now we will be building a simple timer application which will show the elapsed time since the application has started. We need to configure celery with the Redis server URL and also we will be using another Redis database to store the time.
from flask import Flask
from celery import Celery
import redis
app = Flask(__name__)
# Add Redis URL configurations
app.config["CELERY_BROKER_URL"] = "redis://redis:6379/0"
app.config["CELERY_RESULT_BACKEND"] = "redis://redis:6379/0"
# Connect Redis db
redis_db = redis.Redis(
host="redis", port="6379", db=1, charset="utf-8", decode_responses=True
)
# Initialize timer in Redis
redis_db.mset({"minute": 0, "second": 0})
# Add periodic tasks
celery_beat_schedule = {
"time_scheduler": {
"task": "app.timer",
# Run every second
"schedule": 1.0,
}
}
# Initialize Celery and update its config
celery = Celery(app.name)
celery.conf.update(
result_backend=app.config["CELERY_RESULT_BACKEND"],
broker_url=app.config["CELERY_BROKER_URL"],
timezone="UTC",
task_serializer="json",
accept_content=["json"],
result_serializer="json",
beat_schedule=celery_beat_schedule,
)
@app.route("/")
def index_view():
return "Flask-celery task scheduler!"
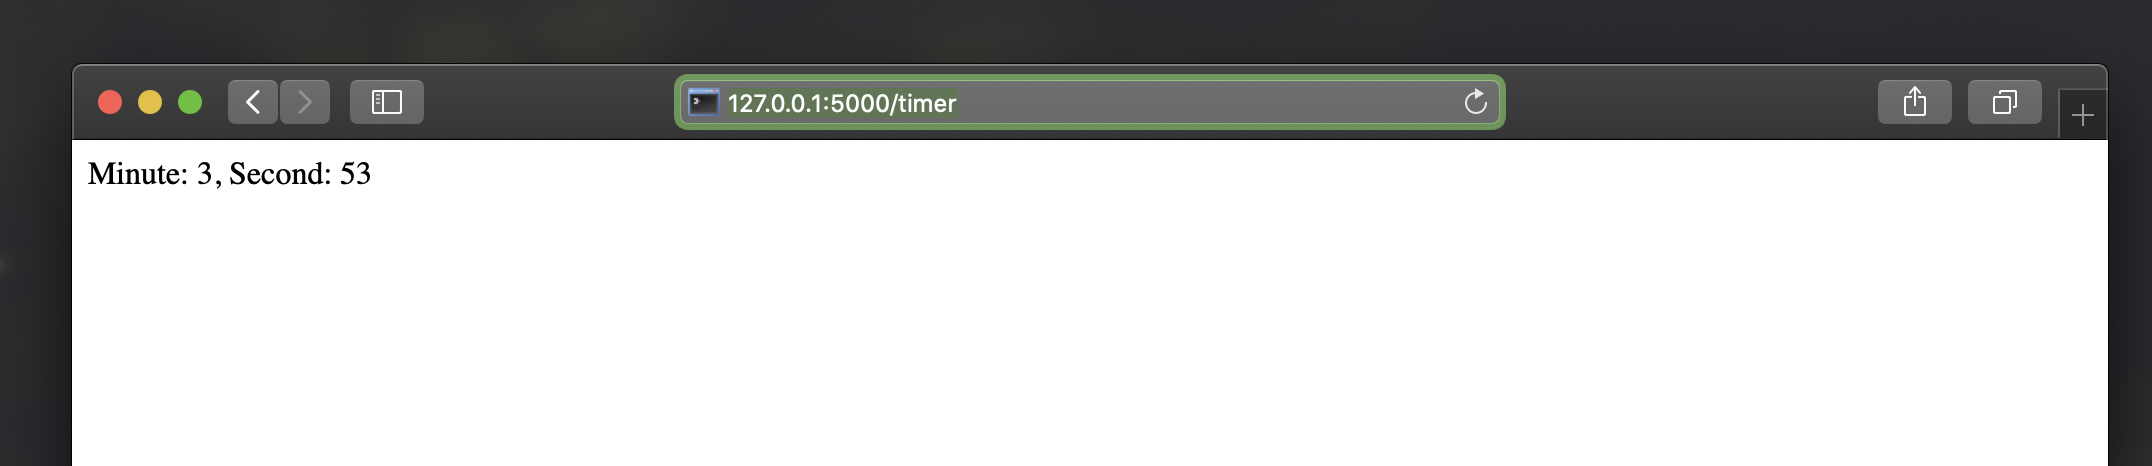
@app.route("/timer")
def timer_view():
time_counter = redis_db.mget(["minute", "second"])
return f"Minute: {time_counter[0]}, Second: {time_counter[1]}"
@celery.task
def timer():
second_counter = int(redis_db.get("second")) + 1
if second_counter >= 59:
# Reset the counter
redis_db.set("second", 0)
# Increment the minute
redis_db.set("minute", int(redis_db.get("minute")) + 1)
else:
# Increment the second
redis_db.set("second", second_counter)
if __name__ == "__main__":
app.run()
Let’s update the entrypoint.js to run both Celery worker and beat
server as background processes.
#!/bin/sh

# Run Celery worker
celery -A app.celery worker --loglevel=INFO --detach --pidfile=''

# Run Celery Beat
celery -A app.celery beat --loglevel=INFO --detach --pidfile=''

flask run --host=0.0.0.0 --port 5000
Our very own timer
The application is only for demonstration purpose. The counter won’t be accurate as the task processing time is not taken into account while calculating time.
Monitoring events
Celery has a rich support for monitoring various statistics for tasks, workers and events. We need to log into the container to enable and monitor events.
docker exec -it flask_dev_container bash
Enable and list all events
celery -A app.celery control enable_events

celery -A app.celery events
This spins up a nice interactive terminal ui listing all the details of the scheduled tasks.

Conclusion
In this post I have used Celery as an better alternative to crontabs even though the primary purpose of Celery is processing tasks queues. Both Celery worker and beat server can be run on different containers as running background processes on the web container is not regarded as best practice.
Unless you are creating a stupid timer application.
The above mentioned code can be found here. repo
Adios!